Monday, November 4, 2013

Monday's Munchies


Today's post is dedicated to Brenda Medina and Jessi K. Heimdal.  Brenda makes this fabulous pumpkin cake (and I'm not suppose to tell Cass it has mayonnaise in it).  Like cranberries and sage-y dressing this is a seasonal favorite of mine.  Jessie and I share a love for Cinnamon Sugar Toast.  I've taken both of those recipes and turned out one amazing plate of  Monday morning munchies.

This morning's weather forecast was calling for snow showers and a high of 36 for Columbus today.  I'm not really a fan of donuts, but I needed something warm and fuzzy to go with my hot mug of coffee.  I did some internet surfing in my bathrobe to discover that almost all donut recipes I found called for the stuff to be fried, and I didn't have any oil for that.  Plus, I'm in the middle of a small kitchen renovation and am missing my venta-hood for the moment.

I did find a recipe for pumpkin donut holes (from twopeasandtheirpod.com), and that reminded me of Brenda's pumpkin cake which led to this:  Cinnamon Sugar Pumpkin Bites.

Now there are two ways to go about this recipe.  I tweaked the recipe from the donut holes, but you could follow the super simple Medina recipe.

Cinnamon Sugar Pumpkin Bites
1 3/4 cup of flour
1/2 teaspoon of salt
2 teaspoons pumpkin spice (or you could make your own using 1/2 teaspoons of cinnamon, all spice, nutmeg and ginger)
2 teaspoons baking powder
1 can pumpkin puree
1/3 cup oil or melted butter, etc..
1/2 cup milk
1 large egg and
1 teaspoon vanilla extract
1/2 cup brown sugar

Super Simple Medina Recipe (SSMR)
1 box spice cake mix
1 can pumpkin puree
1/4 cup mayonnaise

Preheat oven 350. Mix the dry and wet ingredients separately and then combine (unless you are going for the SSMR then just chuck it all into one bowl and mix.  I used a mini-square (bite size) pan with approximately 1 tablespoon of batter into each square. Bake for 20 minutes (you may need to do less time as my altitude calls for longer baking times)  Makes about 48 bites.

Now to add a little Heimdal flair to this recipe.
Melt some butter. I did a stick of butter since I had so many bites to do.
Mix superfine sugar and cinnamon together.  I didn't measure I just did it by looks, but the inspiration recipe calls for 2/3 cups sugar to 2 tablespoons cinnamon.  Mine was heavier on the cinnamon.

Once you have removed the bites from the oven and they are cool enough to remove from the pan without falling apart or burning your fingers, dunk them in the melted butter to coat all sides. Then roll in the cinnamon sugar.

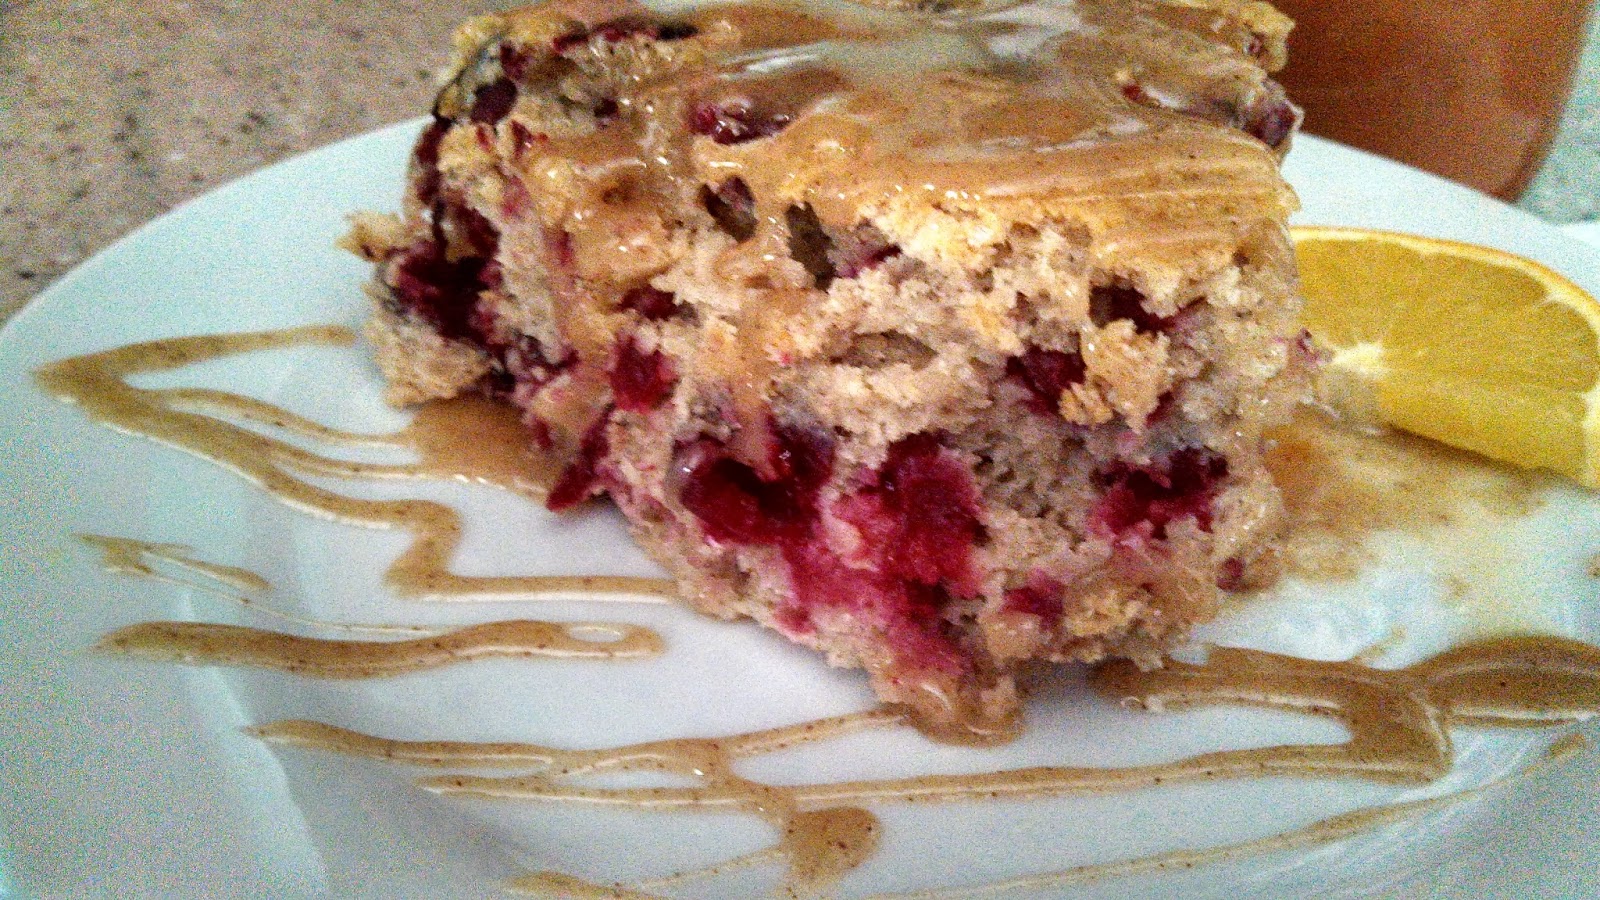
I show a fork in the photo but that is not really how you eat these.  Shovel in with your grubby paws (well maybe wash your hands first) and then lick your fingers. Dunking into the coffee is not only allowed but encouraged.  The fork is to stab people who try and sneak a bite from your plate.


Tuesday, October 29, 2013

Cranberry Duff with Orange Butter Sauce

I love winter for all its frozen brutal beauty, but what's more I love winter for the delictable food associated with the season.  It will come as no suprise to anyone who knows me that I often envoke those flavors in the summer in the name of June Thanksgiving.  I just can't get enough of sage and cranberry.

We have had our second major snowfall this season, and to celebrate I thought a nice steamy plate of Cranberry Duff would be just the thing.  It was inspiringly tastely.  I've not blogged in a while and thought this would be a good come back recipe.

I've also realized my food pictures do not usually do justice to the recipe.  Looking back on the last few posts the food looked kind of gross.  YUCK!  With that said, please know that this dish IS a complete flavor explosion AND you WILL want to make it this holiday season for your friends and family.

I know you are all jealous of my sauce drizzling skills

Cranberry Duff

2 cups flour
1 cup sugar
1/2 tsp. salt
2 tsp. baking powder
1 tsp. cinnamon
2 cups whole raw cranberries (I had taken mine directly from the freezer without thawing)
1 cup milk ( I had to use about 1.5 cups due to the altitude)
1/4 cup melted butter (1/2 stick)
1 tsp. vanilla extract

Preheat oven to 350°. Sift together the dry ingredients. Add the cranberries, milk, melted butter and vanilla. Mix well. Pour into an 8-inch square buttered baking dish or muffin tin ( I used a deep round pie dish). Bake at 350° for 40 minutes. I actually had to bake for 55 minutes either my oven is not getting up to the right temp, my pan was too small, or just the altitude made the timing off.

When the Duff has about 15 minutes left you will want to start the Orange Butter Sauce.  The origional recipe I found was just for butter sauce, but I wanted that extra acidity and tang of orange zest and juice.

Orange Butter Sauce
1/2 cup butter (1 stick)
1 cup sugar
3/4 cup heavy cream
1tsp. vanilla extract
1/2tsp. cinnamon
juice of one half orange
1 teaspoon finely chopped orange zest

To make the butter sauce combine the butter, sugar and cream in a saucepan. Bring to a boil and then lower the heat. Stir in the vanilla, cinnamon, orange juice and zest. Simmer for 10 minutes. Serve the duff warm drizzled with sauce.  Don't be shy with the sauce. Puddle it on there!


Extreme close-up: Chock-a-block full o' cranberries

P.S this was the second round of photos, as I didn't like the first.  You would be incorrect in assuming it was my first or second piece of duff.  NOPE, it was my third. Now, I'm all jacked up on sugar and coffee.  I think I'll shovel the drive way and down into town. 


Monday, March 4, 2013

Factory Cart Coffee Table

This weekend I made, and then remade a coffee table for the patio.  I liked the original, but thought it too big for the space. After much reassurance from Kevin that it was perfect, I decided to ignore his support and redid it to suit me anyway. I went back and trimmed the top pieces to be in line with the sides of the box and give it a more cart like appearance.  I took the plans from Ana White, and adjusted them to meet my needs.  The major difference in mine being the height of the table and the top is not inset: therefore, I didn't need the supports in the inside of the base to hold up the top.


The photo above is the table as it sits now and below is the original.  You can see how the top extended over the sides.  

If you look at the wagon wheel bench behind it you can see the darker weathered places in the cracks.  I had wanted to achieve that in the table using an ebony stain, but I had a tiny explosion of Minwax when I opened the tube.  There was no going back, I had to do the entire table (and my hands, arms and shirt good thing it was water based) in the stain.  I like how the darker color looks as there is so much wood in, around and on my house.


I think for the finishing touches I'm going to add  two two inch metal bands around the sides of the bench and maybe a handle like you would see on a red wagon to complete the cart like look.

I used cedar we had in the barn and bough four wheels from our Columbus Ace hardware.  I had some issues with the getting the screws in straight but you can't see it in the pictures. I've never been good at getting screws to go in nice and straight, but I missed the edges of the wood in a few places, oops! I'm a beginner what can I say.

I'm looking forward to getting the finishing touches on the table and then I am going to start on a bench cushion for the wagon seat.  I'll be doing a no sew project.


Friday, February 22, 2013

Bagels and Lox Inspired Stuffed Pepperoncinis

I love all the flavors involved in a good bagel and smoked salmon sandwich: delectible smoked salmon, the crunchy-heat from the red onion, pickled sourness of the capers, and the creamy-silken feel of the cream cheese.  MMMMM. 

Last night I made these terrific little appetizers that are all those things sans the bagel.  If your favorite part is the bagel you won't be satisfied with these pepperoncinis, but all the other flavors are present and accounted for.  I even added a little extra something to make them special.

First, I mixed a package of chèvre with cream cheese, finely diced capers and red onion.  Then, I cut the tops off the peppers, deseeded, and drained on a paper towel. 


 To stuff, I placed the mix in a baker's decorating bag, cut the end and squeezed into the pepper.  That step made the process so much easier and less mess.  I wrapped the salmon around the outside of the pepper, but thought after that you could chop and add in the stuffing if you were inclined.  To top the creation, I drizzeld (not shown in photo) homemade honey mustard on the top. The mix made about 16-20 stuffed pepperoncinis amount will depend on the size of peppers used.  They were perfect.  I had the left overs for brunch today.

Thursday, February 21, 2013

How Hashtags Make Me Feel


I don't really understand hashtags.  I've only just begun to tweet around, and I'm fairly certain my 14 (almost 15) year old niece was laughing at me on twitter (instead of with me) the other day.  I have a vague idea of what they are for, and I get how the #cousinsoncall would use them to help people find their smoking hottness, but why would I use it?  Are there rules to this #?  I wish I could be like Joey and be blissfully ignorant, but I'm not.   Oh, Hashtag! why are you so #confusing?

Saturday, February 16, 2013

Derby Day!

I've just spent 2 hours looking for leopard hot pants.  Not to be found in Billings, but that's okay.  I'm not sure my derby persona would wear them any way. Fuzzy tiger stripe pants yes!

I'm sitting here waiting on my lean protein, and pondering just who exactly Elbow Derek is.  Elbow Derek being my roller derby name for those of you who don't know. Does she wear fishnets?  Mmm. No.  War paint...no.

In general, I think we spend to much time trying to define ourselves and fit in; therefore I'm not gonna do that.  Elbow Derek is Me.  We favor the athletic side of derby over the drama.  I've never been into sparkles anyway.

My teammates with flair look so cute when they dress derby, but I've a feeling I would look ridiculous, and you know my saying: "If I don't look cool doing it, I don't do it." So I'll leave the glitz and hot pants to those who do it so well,and I'll stick with under armour yoga tights.

I know one thing, despite my lack of hot pants.  I will be confident tonight.  It doesn't matter that I don't wear fishnets, or paint my face.  What matters is that I show up.  I'm there and my team can rely on me. I love those ladies and look forward to kicking ass with them tonight.

Friday, February 15, 2013

French Onion Soup

I've always hated French Onion soup.  It is always over salted and makes me feel gross after eating, but I always think it should be good.  With such simple basic ingredients, how can so many people mess it up.

Years ago I stopped trying it, and I  have to admit I've never ordered it from a five star restaurant (who orders soup at a fabulous place???). 

Yesterday, I challenged myself to make it and Kevin was glad I did.  It turned out perfect.

Ingredients:
4 yellow onions
4 cloves of garlic minced
2 cans 14.5 oz Swanson chicken broth
1 26 oz can of Swanson beef broth
1 stick of Tillamook butter
A generous pour of Cabernet
A bit of gruyère cheese for topping

Process:
Melt butter and sautee onions (in a dutch oven or other pot that can go from stove top to oven) covered for 20 minutes.  Then place in a 400° oven for an hour stirring once about half way through to avoid sticking and burning.

Once out of the oven deglaze on medium heat using the red wine.  Scrape up all the tasty brown bits and reduce liquid to half.  Then add garlic and broths. Simmer for 40 minutes.  Place in bowls and add cheese.  You can place it under the broiler if you want to melt the cheese.

Some of you may be wondering where the crusty bread is.  I didn't use any but you can add it to the top of the soup before adding the cheese if you like.

I served the soup with Bell peppers stuffed with elk, onion and topped with swiss.

Poster Child

I'm on the poster for our (Billings Roller Derby Dames) first bout of the season.  Even though I'm road kill (on top of the dog pile - That's ME!) in the poster, I'm stoked just to be on it.  

I can't wait for Saturday.  Which will be my first home bout and only my second bout ever.  Here is a picture from my first bout in Casper.

 And a head shot of Elbow Derek #10.  I'll update the blog Monday with shots from our home bout.  Go ME!


Monday, February 11, 2013

Zebra Clinic

This weekend I, Elbow Derek, attended, as a skater, a ref clinic in Helena at the Hel'z Belles' practice space.  Sweet Tweet our head ref put on the clinic for area roller derby officials to come and disect the new WFTDA rules and have an opportunity to practice making calls with the new rules set.

I skated with a mix of Belles and ECRG girls.  I learned a few things about myself:

1)  I'm not fast enought to chase Blondie out of the engagment zone
2) I can be sneaky and successful as a jammer
3) I need more endurance training
4)  I love road trips (uh, I already new that)

I am glad I went to participate as I was getting nervous about our season opener, which is also my first home bout.  My friends and family have never seen me skate before, and I feel a little more confident after scrimmaging on Saturday.

Friday, February 8, 2013

Me + The Internet = Master Carpenter

The internet is a wonderful thing.  I don't have to leave my home here in the boonies to buy home decor anymore.  I can just make it.  You thought I was going to say order it online, but no!  I've been teaching myself the fine art of word working.  I've made 4 shelves and a bath-top desk.  

It all started when Kevin was bugging me about making the barndominium look like we actually live here. So it's been a year since we've moved in, and I've been a little busy what with getting married and being a roller derby queen and a house wife.  JEEZ.  

First, I started with these 1 foot barn beam shelves using some cedar we had in the barn. I got the idea from Ana White's blog.  
Below, you can see how the sides are a bit unfinished.  I need to sand and maybe use some wood filler to give it a more polished finished look.   

 I made them as floating shelves and was so impressed with myself. The pictures are of the unfinished shelves, but you can see how it was assembled to allow for the floating wall mount.

This empty space sandwiched betweent he top and bottom boards accommodates the wall cleat seen below.  Notice I messed up the screw hole and had to add another.  OPPS, oh well you can't see those when the shelf is up. 

I liked the 1ft barn beam shelves so much that I made a two footer for my guest bath.  This one I painted a barn wood grey (as shown) and then later distressed it and added a coat of Minwood Drift Wood stain.


 Because my shelves were so successful, I've a whole passle of projects I want to complete.  This bath-top desk is my latest creation.  It took seriously 20 minutes to put together and probably would have taken less time if I had measured properly.  When I was putting on the wood feet underneath, I measured from the insides of the feet instead of the outsides, so I had to move them in to get a proper bathtub fit. This was a pinterest project that I found @http://www.myuncommonsliceofsuburbia.com/diy-bathtub-shelf
(Look at Forrest, isn't he cute.  He likes to sit on the rug and protect the bathtub when I'm there.)  
My next project is to build a bench for my sister-in-law, Linda.  And then who knows what I'll make.  Come back and check up on my progress.

Meringue Cookies

I finally made beautiful vanilla meringue cookies.  It has taken me several attempts to get these to turn out looking and tasting great. ...